LEARN THE GEL STRIPS BASICS!
Choose the right size for your nails. The strips have different widths to match your cuticle's shape!
Place the gel strip close to the cuticle without touching your skin, otherwise it may fall off prematurely.
As it is made with real gel, you can gently stretch the edges of the strip to get the perfect fit for your nail!
The strip can be applied as a sticker! Press down onto the nail firmly. The glue will adhere to your nail.
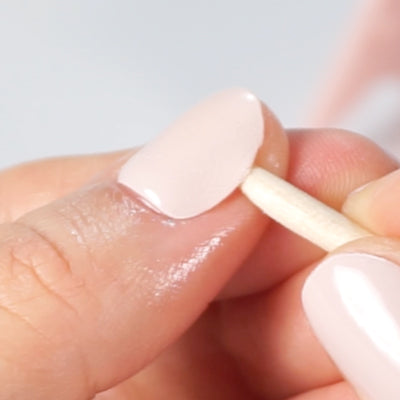
Smooth out any wrinkles or air bubbles. Use the wooden stick to flatten the edges of the gel strip.
Trim any excess with nail scissors or nail clippers. File your nail gently to smooth it out before curing.
Cure your nails with our UV/LED Lamp for 60 secs. Repeat up to 3 times until completely hardened.
File again for a smoother finish and apply gel top coat for extra shine. Avoid water for the first hour.

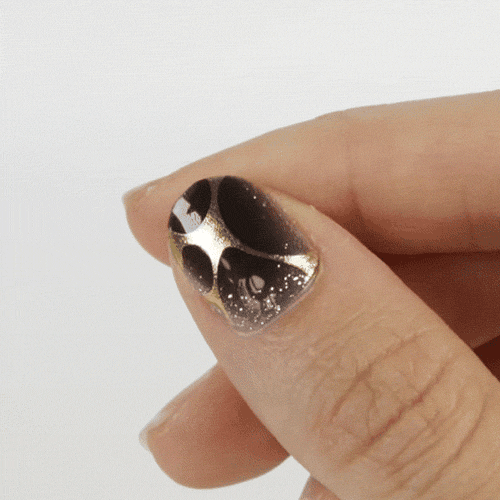
Lift the strip up gently from the side/edges. Using the wooden stick, apply nail polish remover drops between your nail and the strip.
Slide the soaked wooden stick under the strip back and forth until it easily comes off. Avoid any sudden lifting to prevent nail damage.
Clean your nails with nail polish remover and a wipe to get rid of any traces of remaining adhesive on your nail bed.
You have successfully removed the strips! We recommend to wait a few days to let your nail breathe before reapplying Gel Nail Strips.

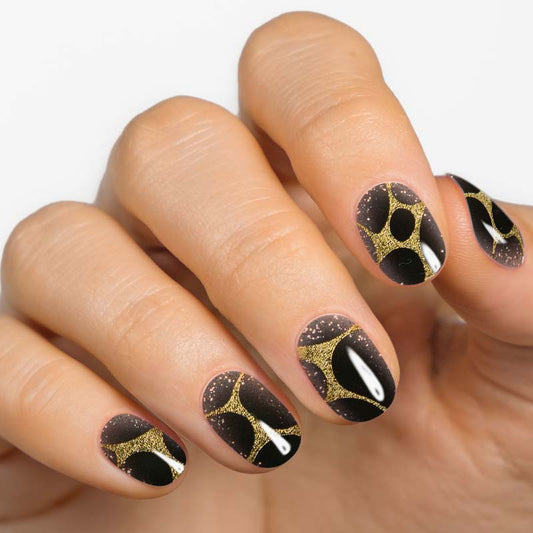
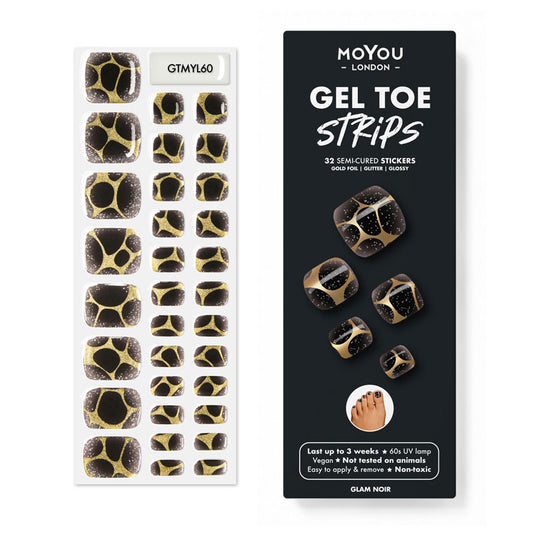
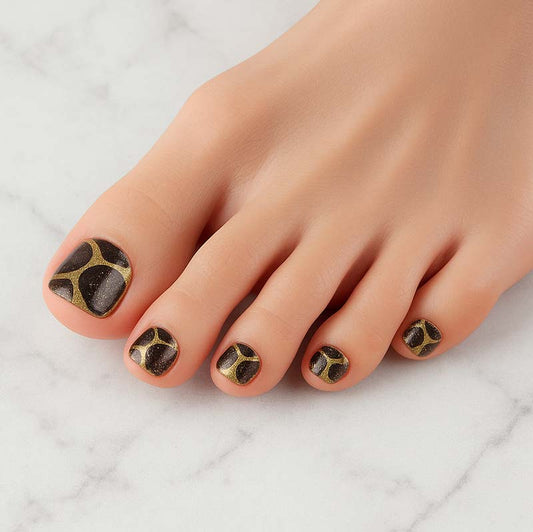
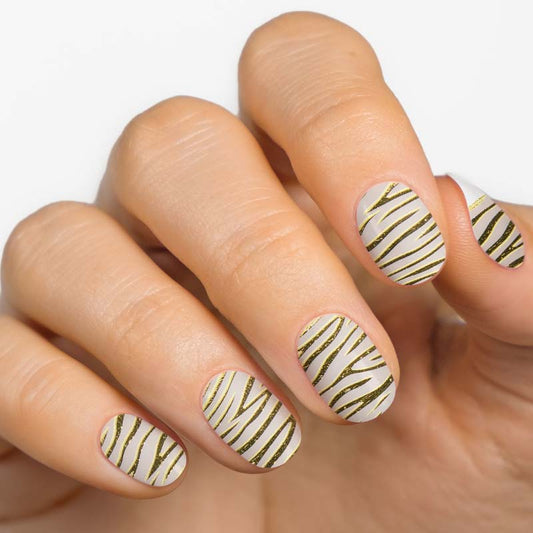
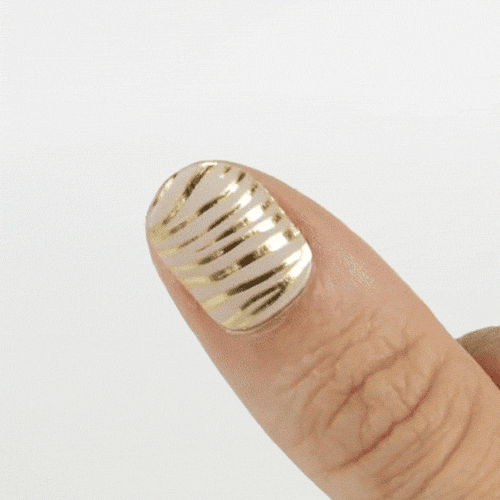
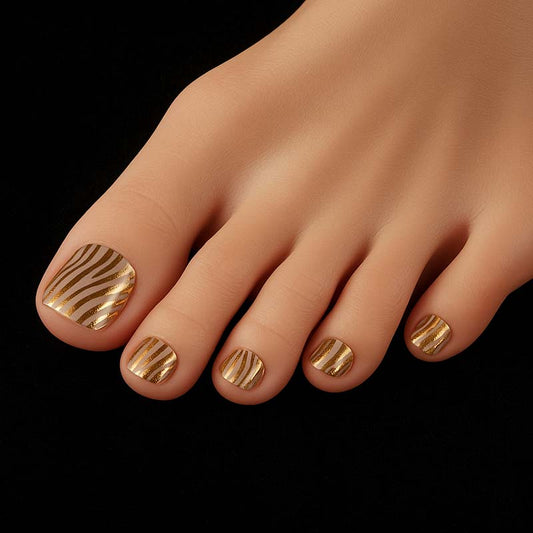
Check out all the MoYou London's Gel Nail Strip colours, patterns and desings! More than 100 models to choose from!